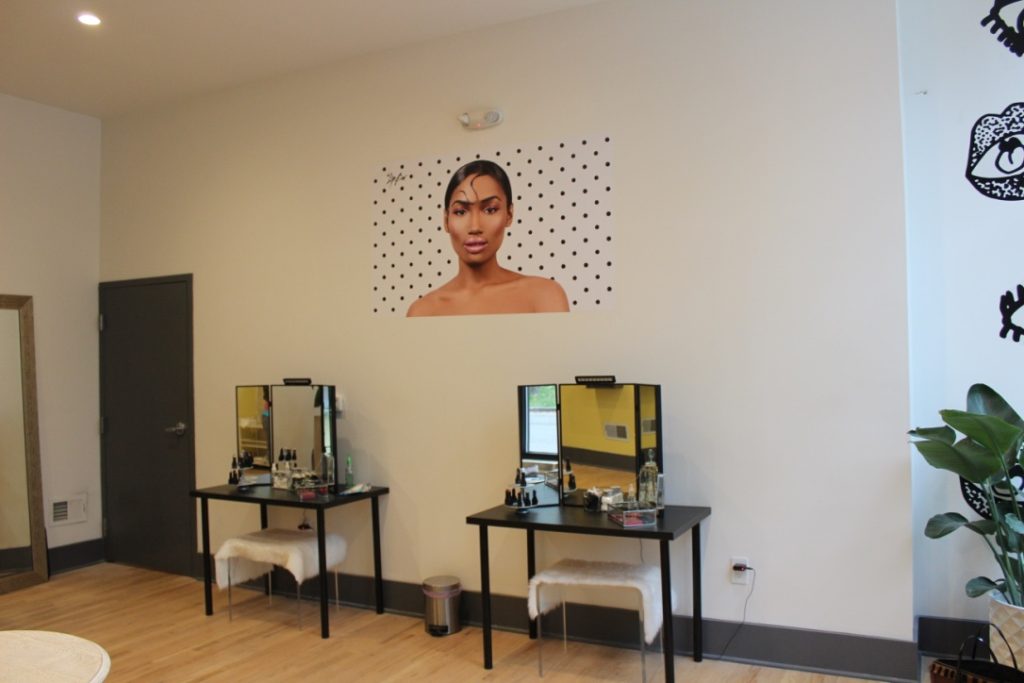
It’s been a while since I’ve done a wall installation, and I do love a good DIY wall moment. So when my friends over at The Lip Bar needed help sprucing up their new Detroit store, I grabbed my paint supplies and was all in! I am so in love with the way my Dot Wall turned out and am totally convinced that a little bit of paint can definitely go a long way. Now I will be honest, although the concept of this project is fairly simple, it does require a great deal of time, patience, and a steady hand. If that is not your lane, this may not be the DIY project for you, but don’t get too upset, I’m sure this post will at least offer you some inspiration! Continue reading to see my step-by-step guide to how I executed the Dot Wall!
Getting Started: What You Will Need
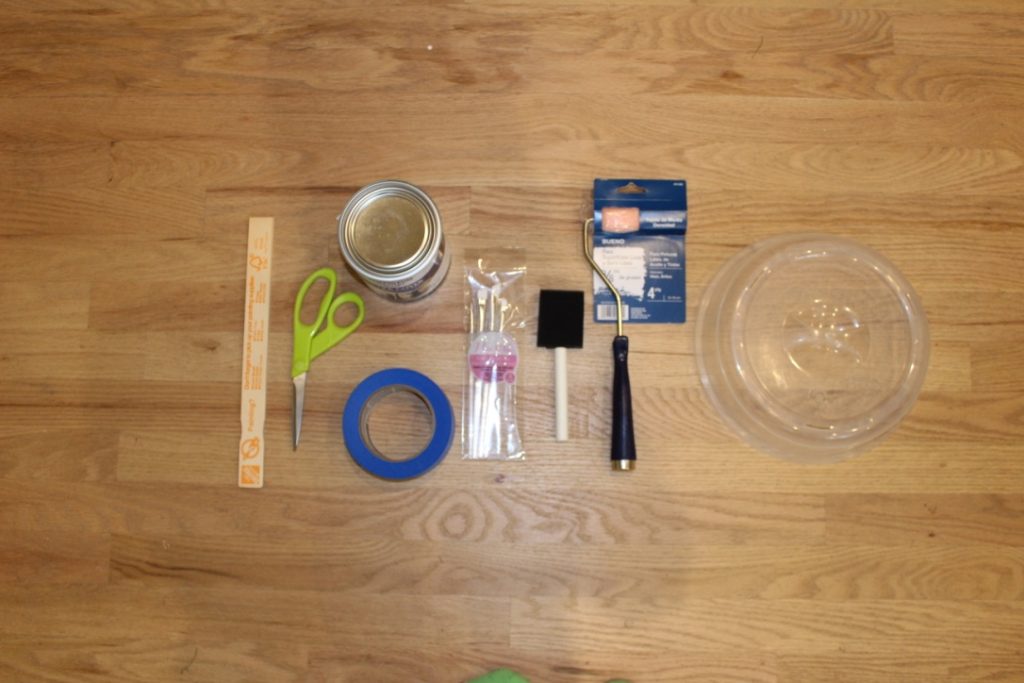
Pencil
Latter
Scissors
Painter’s Tape
Mini Pain Rollers
Foam Paint Sponges
Angled Paint Brushes
Disposable Drop Cloth
Various Sized Round Objects
Interior Wall Paint Flat or Matte Finish (Unless you want a different look)
The first thing that I did that isn’t pictured, (sorry) is clear everything from around the area I would be painting in. I then spread out my disposable drop cloth and taped it the lower edge of the wall, I was sure to also cover the molding. The better you do this, the less you will have to clean up later.
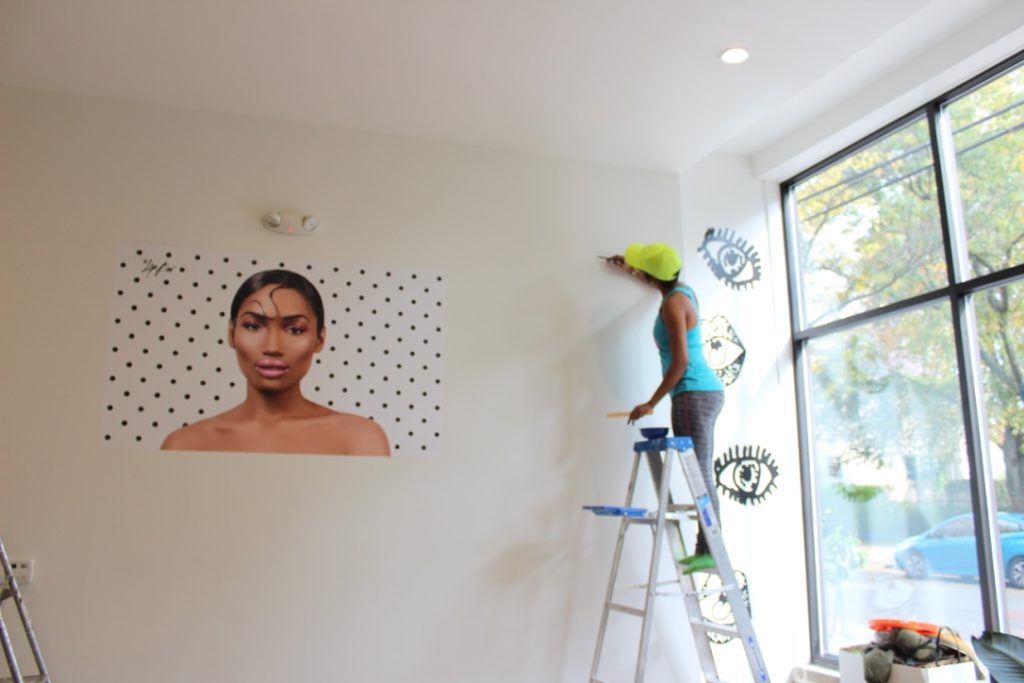
- Now onto the fun yet tedious part, drawing your dots/circles! Because there was an existing photo within the center of the wall, I chose to keep the initial dots that would immediately surround the photo between a small and medium size. I had no rhyme or reason to my placement just the size of the circles.

- Then, I then began to add medium circles about the size of a small cereal bowl sporadically into the mix.





Candace
November 16, 2017Looks fabulous!! Don’t think it’s “DIY” for the those of us who aren’t artistic geniuses like you, but I’m lucky enough to have your number and your PayPal account info for when I need a project as dope as this completed!