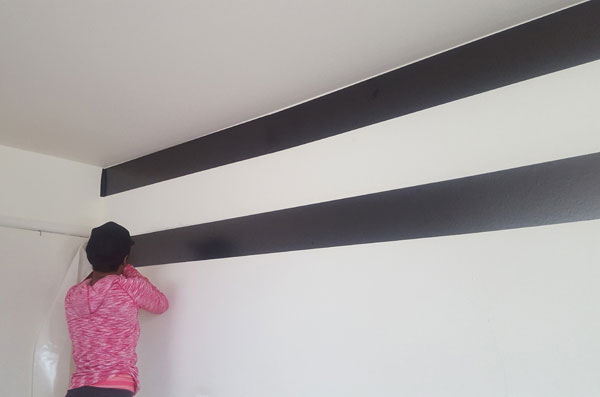
 There are a couple of ways to attack this DIY project, but the most important thing to do before getting started is measuring out your space and choosing your vinyl width and direction accordingly. I opted to install horizontal stripes, so I chose to use wider stripes (6.5 in. by 16ft).

Because life sometimes decides to throw curve balls, while doing my preliminary measuring, I found out that my wall wasn’t perfectly symmetrical. So instead of measuring my entire wall out completely, I installed one stripe at a time and measured downward before applying the next.

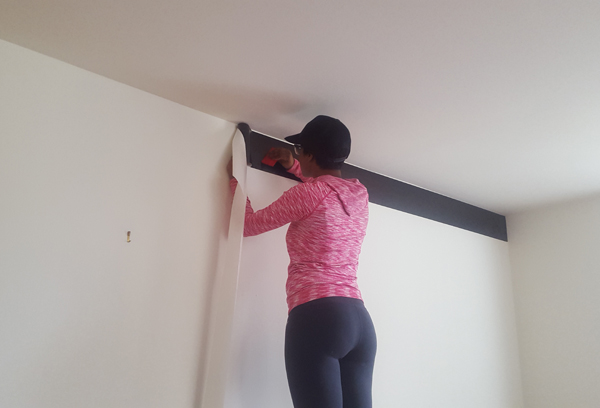
To apply the stripes, I lined up the vinyl against the markings I placed on the wall. Using the burnisher, I smoothed out the vinyl as I moved along the wall to eliminate any air bubbles. This is the most tedious part of the entire project, but the most crucial as well.


