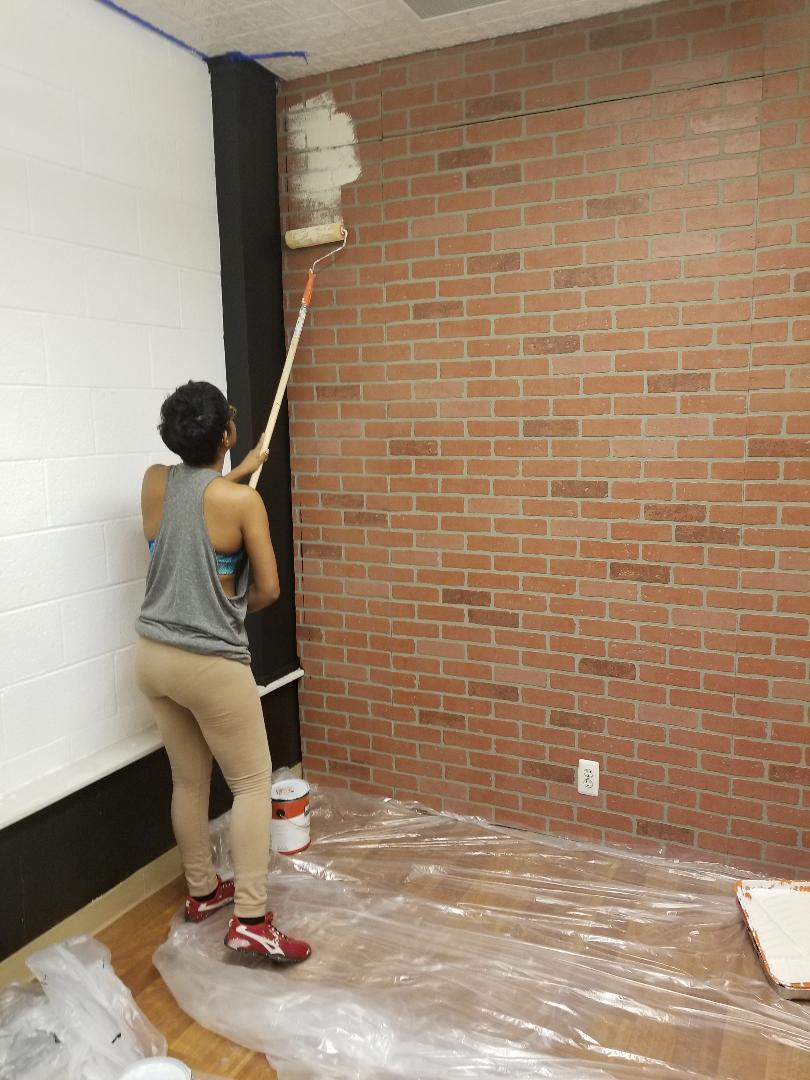
My paint brushes and I were at it again! This time helping to revamp my friend’s beauty studio. We decided that giving the space an industrial sleek edge by distressing the walls would be the way to go. So after a quick bit of research, I figured out a master plan. This foolproof project is fairly simple to do for those who get nervous about tackling anything DIY related. Since the end result is to create the look of a worn brick wall, mistakes can easily be painted over or sanded out. Now let’s jump into it!
Getting Started: What You Will Need

- Sand Paper
- Drop Cloth
- Steel Wool
- Paint Rollers
- Foam Brushes
- Varying Shades of Textured Spray Paint

- I started off by rolling out my lightest color onto the wall.

- This should look like a sporadic paint job. There should be varying intensities throughout the entire wall.

- Next, I added my second shade to the wall which was a step darker than my original. Again, the goal is to only build up certain areas of the wall and to leave some blank.

- To spice things up a bit, I switched over to spray paint to change the texture and application of my paint.
Note: As you add darker colors, use them in more concentrated areas. You also want them to overlap with the previous shade. Think of creating different areas of gradient colors throughout the wall.

- I then applied paint using a steel wool pad to replicate a little grit along the bricks.

- Do this throughout the wall.

- Here is a close up of how the different layers look when they start to come together. Cool right?

- Now comes the fun part! Sanding. Using my sandpaper, I sanded the wall to make certain areas more worn than others. This is when you need to step back and look at the composition of your wall to decided which areas you want to do this. After this step, you are pretty much done. You can continue on or stop depending on how distressed you want your wall to look.
Here is what the finished result looks like!


